Beauty
How To Make Press-On Nails Last Two Full Weeks
Expert advice for extending the lifespan of your instant manicure.
Patience is a virtue, but it’s never been something I have when it comes to professional manicures. I can’t handle the time commitment, the scheduling, and the periodic boredom that comes with having the same color for too long, before finding time to get back into the salon. Which is why I have found a lot of love for the amazing, flexible alternative: press-on nails.
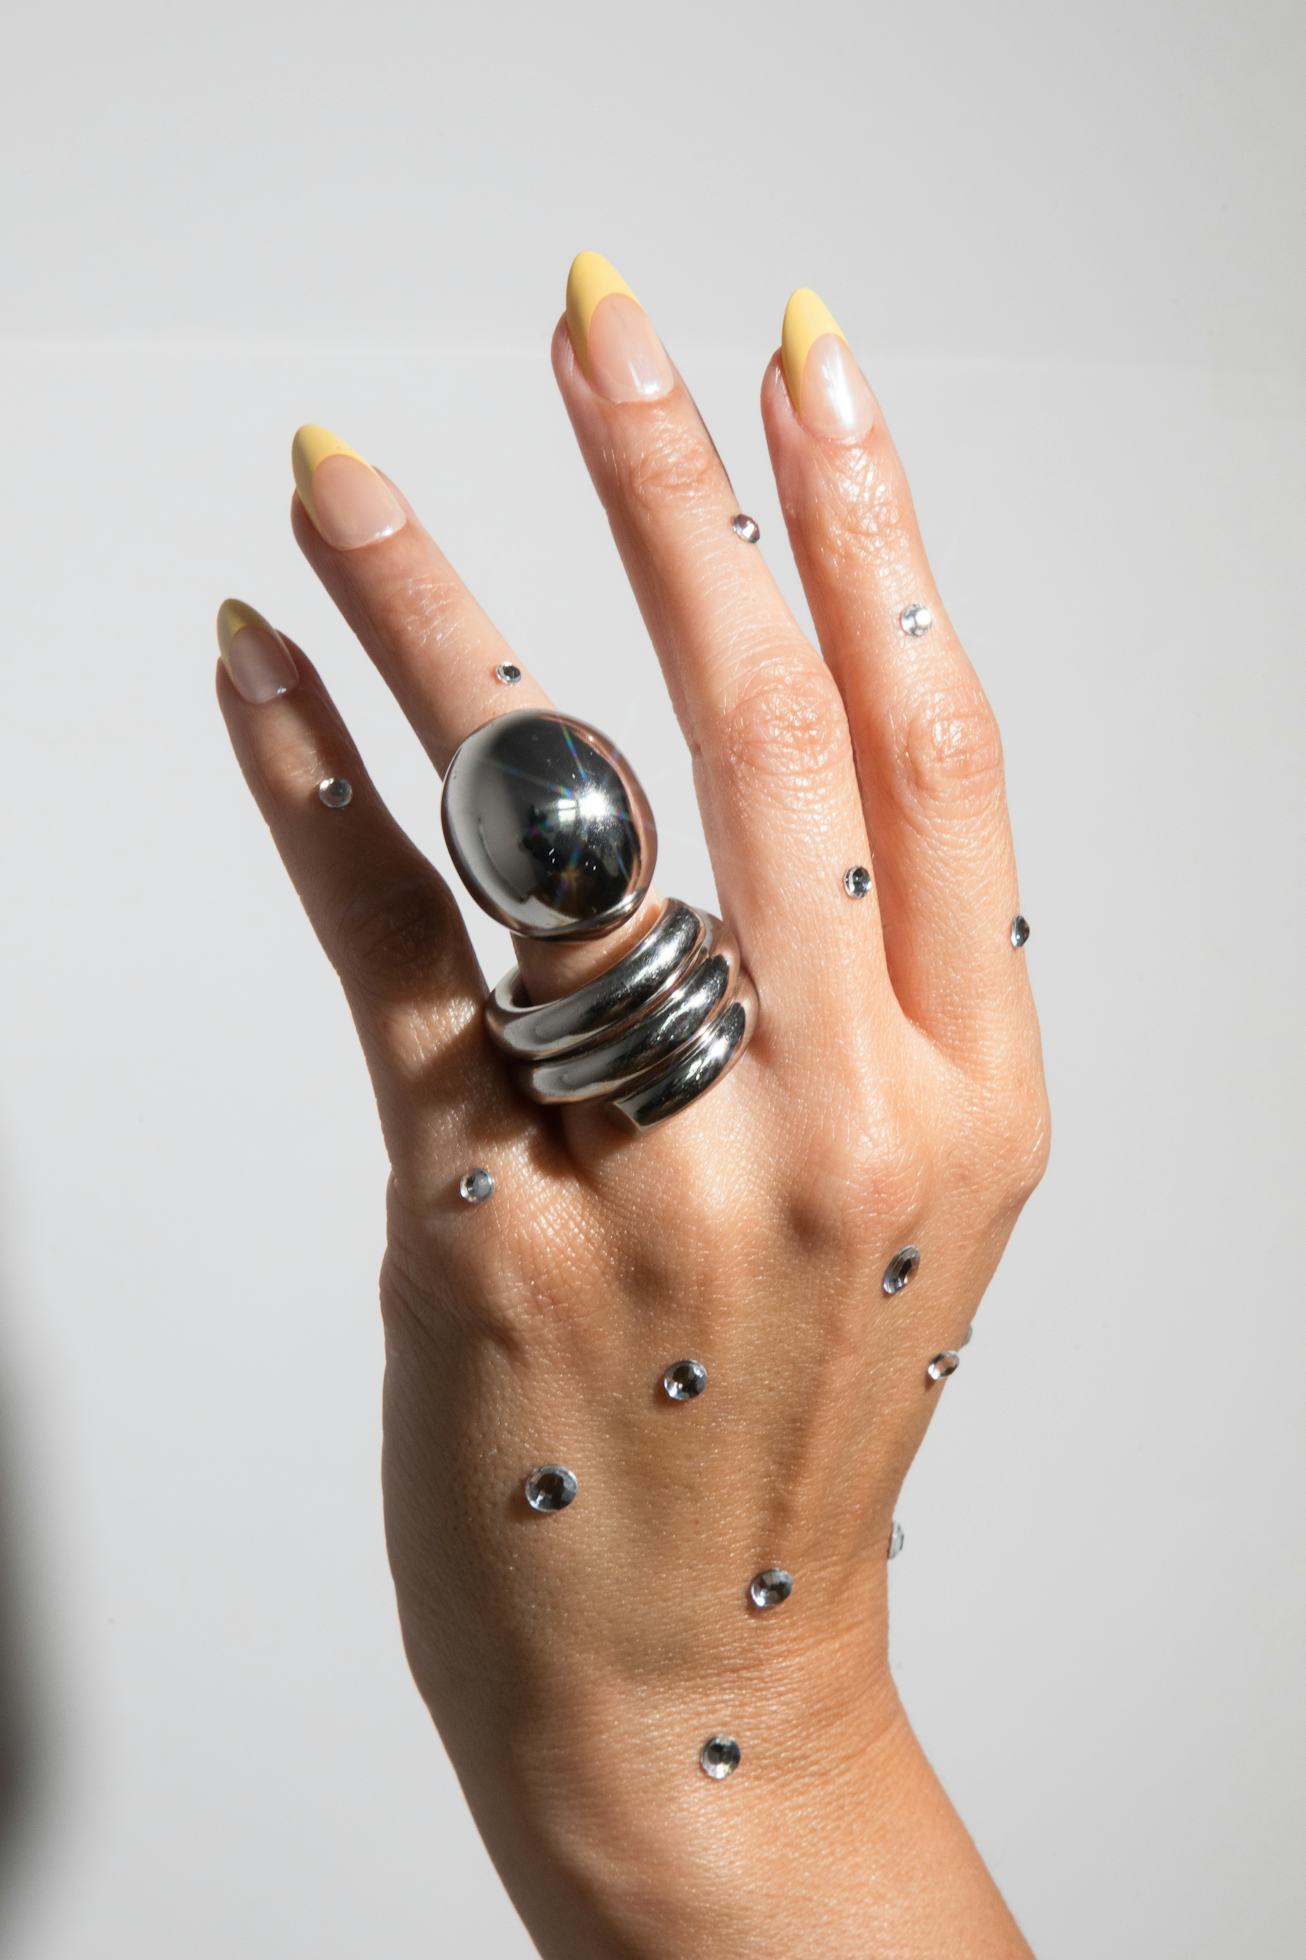
When done correctly, press-on tips look as convincing as a salon manicure, take under 15 minutes to apply, and can last two glorious, chip-free weeks. And better yet? Whenever you get nail-art fatigue, they’re easy to take off by yourself.
But to make your cost-effective and cool-looking manicure go the extra mile, you have to set them up for success. Read on for the best expert tips for getting the longest wear yet out of your press-on nails.
1. Keep It Dry
You can make putting on your press-ons a spa-like experience, but it’s best not to apply them immediately after showering or bathing. Nails absorb water and they expand, which will cause press-ons to sit differently (less securely) once your nails dry. After applying your set, you should also wait about an hour before washing your hands or lotioning up for the same reason.
2. Perfect Your Prep
That means your real nails and your press-on ones. Wipe down your nails with an alcohol pad (many box kits already include this) to remove any debris or oil before starting your application, so the glue can adhere to a clean, dry surface. Celebrity nail artist Mei Kawajiri, who counts Dua Lipa and Devon Lee Carlson as clientele, also recommends swabbing the backs of your press-on tips with acetone for a longer-lasting effect.


3. Size Matters
The number one rule: Press-on nails should not be wider than your nail bed, Kawajiri says, because when the tips are too wide to sit snugly on the nail, you won’t get maximum adhesion. So be thoughtful about laying out all 10 nails before you get to gluing. As an advanced tip, you can always cut or file a tip down around the base for a totally custom fit, says Molly Romah, manicurist and lead nail technician at Chillhouse.


4. Strategize Application
Practice will increase your confidence in applying press-ons, especially when it comes to using your non-dominant hand. If you’re feeling shaky, Kawajiri suggests applying the press-ons to your dominant hand first so you’ll have more control applying the second hand, even with longer nails. I like to alternate hands working inward from the pinkies, leaving my index and thumbs last, for better dexterity.
5. Double Down On Glue
To create the best seal between the press-on and your nail, apply a thin layer of glue over your entire nail and on the back of the tip before putting it into place. (You want it to fit comfortably just underneath the cuticle.) When the tip is set, press and hold even pressure for at least 30 seconds to ensure the stick, Romah says.
6. Stay Vigilant
Despite all your best efforts, pop-on nails may still pop off at less-than-ideal times — but that’s where press-ons really have the edge over polish or salon manis. As long as you have the nail (or a sub — all sets include at least a few extras in similar sizes), it’s an instant fix. Olive & June founder Sarah Gibson Tuttle turned me on to the brand’s brush-on glue. Not only does it have the best hold of glues I’ve tried, it can be painted on like nail polish. As long as you have it in your purse, you’re golden.

