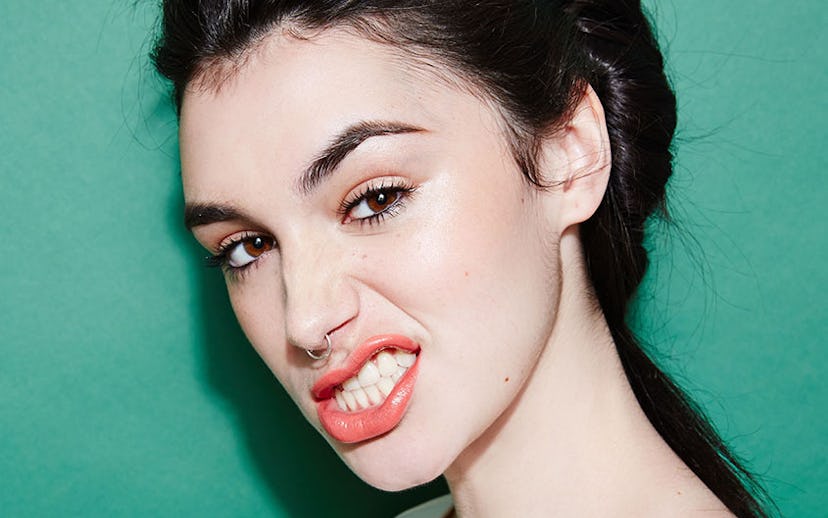
If your hair is long enough to put into a topknot, chances are, you've got a go-to technique that you could do in your sleep. We're not trying to mess with that—you get those long locks out of your face the best way you know how.
That being said: For many of us around here, wearing the same high bun every day of summer gets real, old real fast. So, we asked hairstylist Monae Everett to swing by our office and come up with new ways we can throw our hair up. Sure, they're a little more complicated than the one-and-done knot of yore, but we're up for the challenge. Click through if you are, too.
Photographed by Lauren Perlstein; Hair by Monae Everett; Makeup by Colby Smith; Styled by Marissa Smith.
The Double-Trouble KnotYes, this looks complicated. But it's totally not. Or should we say, knot? If you can do one topknot, you can do two—and really, that's all this is. Because fake-fancy is the best kind of fancy.
shirt by khalo.
Step 1Divide your hair into two horizontal sections. The part between the two sections should be an upside-down V-shape.
Step 2Pin the top section of hair out of the way. Then, grab the bottom section and wrap it around your wrist once.
Step 3As though you are tying a knot, begin to pull the hair through the circle around your wrist. Don't pull it all the way through, though—stop when it's a loop with a few inches of hair sticking out of the bottom.
shirt by khalo.
Step 4Pin the loop in place. Step 5Repeat those stops on the top section of hair, but when you wrap it around your wrist, go in the opposite direction (if you wrapped the bottom section to the right, wrap the top section to the left).
shirt by khalo.
The two knots create almost a Mohawk shape, but totally appropriate for whatever nice thing you have to go to later.
shirt by khalo.
The Neu-Betty Did you ever find yourself torn between becoming a greaser and paying homage to Betty Flinstone? No? Well, this strong, androgynous topknot would never make you, anyway.
top by asos.
Step 1Create a high, slick pony, making sure to wrap a part of your hair around the band. Pin to secure.
Step 2Lean the ponytail towards your face. Using your pointer and middle finger as the fulcrum, direct the ponytail back to the base at the center of your forehead.
top by asos.
Step 3Wrap the ponytail around the back of the band and secure with bobby pins.
Step 4Once the structure is in place, twist the front of the loop over itself (to either side) and pin.
top by asos.
Now you're ready to rock.
top by asos.
The Zen AlienDeceivingly easy, this topknot is the quickest way to look cool and polished, in under two minutes.
dress by fred perry.
Step 1Create a high, sleek ponytail.
Step 2Tightly twist your hair from the base of the ponytail to the tip.
dress by fred perry.
Step 3Continue to twist, allowing your hair to naturally fold and twist over itself as tension builds.
Step 4Pin in place.
dress by fred perry
Easier than touching your tongue to your nose, eh?
dress by fred perry.
Better Braid ItBecause braids make everything better.
top by guess.
Step 1Put your hair in a high ponytail, leaving the hair in the front out.
Step 2Twist the hair in the ponytail into a bun and pin it in place.
Step 3Divide the hair in front into two sections, and braid 'em. You can do regular tiny braids, or you can do what our hairstylist did and cornrow them.
top by guess.
Step 4Gently pull the braids apart to create a messier, lived-in feel.
Step 5Wrap the two braids around the bun, pinning them in place.
top by guess.
Sure, it's just a bun with a couple of braids wrapped around it, but it just looks so much more elevated that way.
top by guess.
Pile O' BunsSometimes the best hairstyles are the ones that make your friends say, "What even is that?" This one's actually really easy—promise.
Step 1Secure all your hair into a high ponytail.Step 2Create a knotted braid simply by dividing your hair into two sections and tying a series of knots until you reach the end.
Step 3Pull the knotted braid forward, and then fold it under itself so that it creates the shape pictured here.
Step 4Pin it in place.
The frizzier this one gets, the cooler it looks.