Beauty
Get Ready To See Marble Nails All Over Your Instagram Explore Page
Here's how to DIY the style.
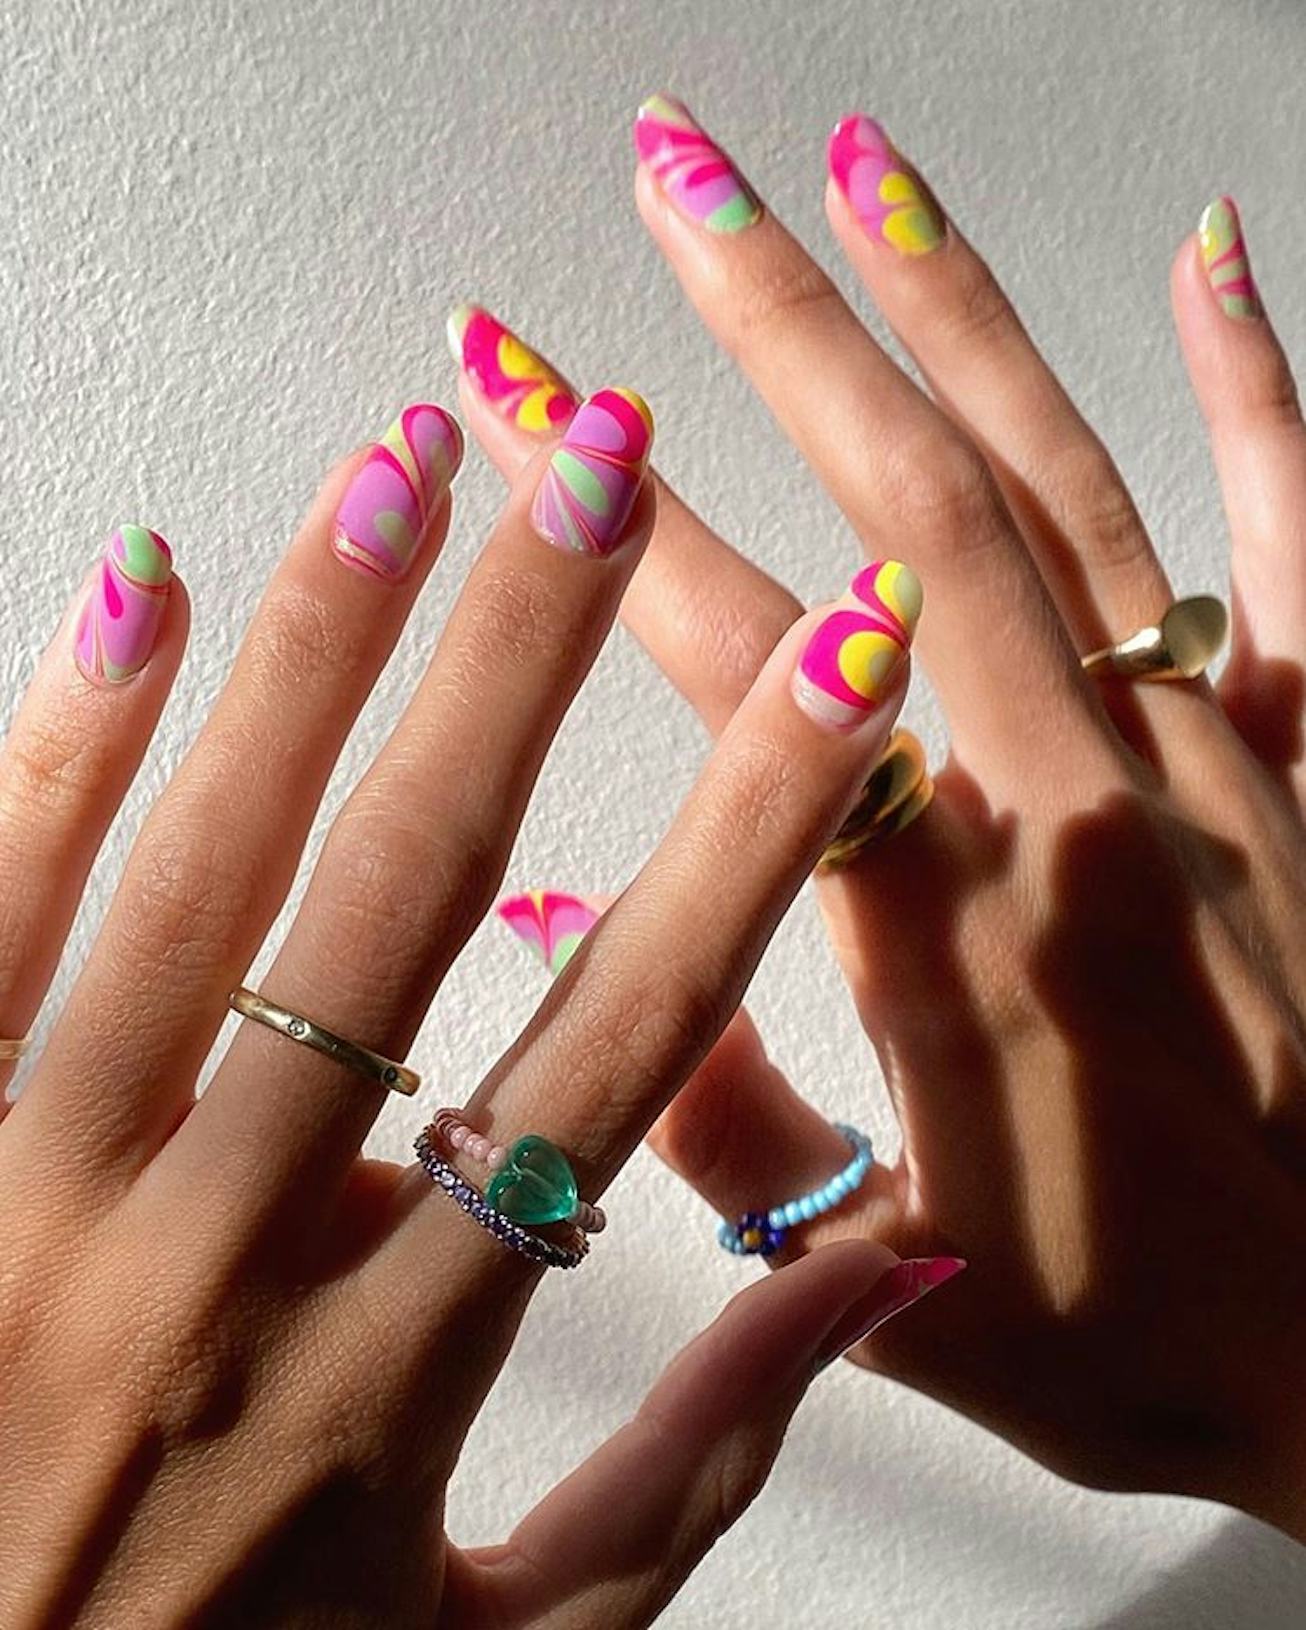
Instagram nail artists have found their inspiration in everything from video games, cows, skies at twilight, and most recently, rocks. Marble manicures, the latest, and one of the most visually stunning, nail art trends has officially arrived to Explore pages everywhere.
From marbled patterns featuring pastel coloring to negative space manicures that turn nail tips into a carefully crafted whirlwinds of color, this trend is all about mixing contrasting colors. Similar to a tie-dye manicure, marbled manicures feature swirled color patterns. However, this trend allows for the artist to embrace imperfections.
As many Instagram nail artists have demonstrated, the best marble patterns are ones that feature no set color path. Manicurist Rachel Messick explained how the design comes together, telling NYLON, "Marble nails are an exercise in layering color and opacity to create the illusion of depth. I will typically start with a milky tint as my base color and use a combo of sparkles and jelly colors to create depth and a super pigmented white to create the veins."
Much like the previous and still popular trend of mix and match nails, marbled manicures don't require perfection, and that's something that Messick feels is particularly important for DIY nail artists to know. "It’s a design that’s literally based on a naturally random pattern that is unique to each stone," Messick said.
There are a number of methods you can follow to recreate the look at home. For those not feeling completely confident in their painting abilities, Messick suggested DIY marble stickers or press-on nails. Those that are feeling brave enough to turn their manis into miniature rocks can create a cloud look with two colors. Messick suggested painting your nail a milky base color, and then gently dab lines of a semi-sheer white to create a subtle marble look.
As a final option, Messick also recommended transfer foil. After cleaning your nail of oil or debris, paint a thin base coat, and then let it dry. You then want to paint your entire nail a shade that's similar to the color of your chosen transfer foil. Paint a light layer of foil glue on the nail, and then give it a few minutes to get tacky and turn clear. Gently press the foil (design side facing up) on to the nail. Lift the foil to reveal your design, and then top with a clear topcoat to seal it in.
Ready to get painting? Take a look at various versions of the trend, below.
