Tried It
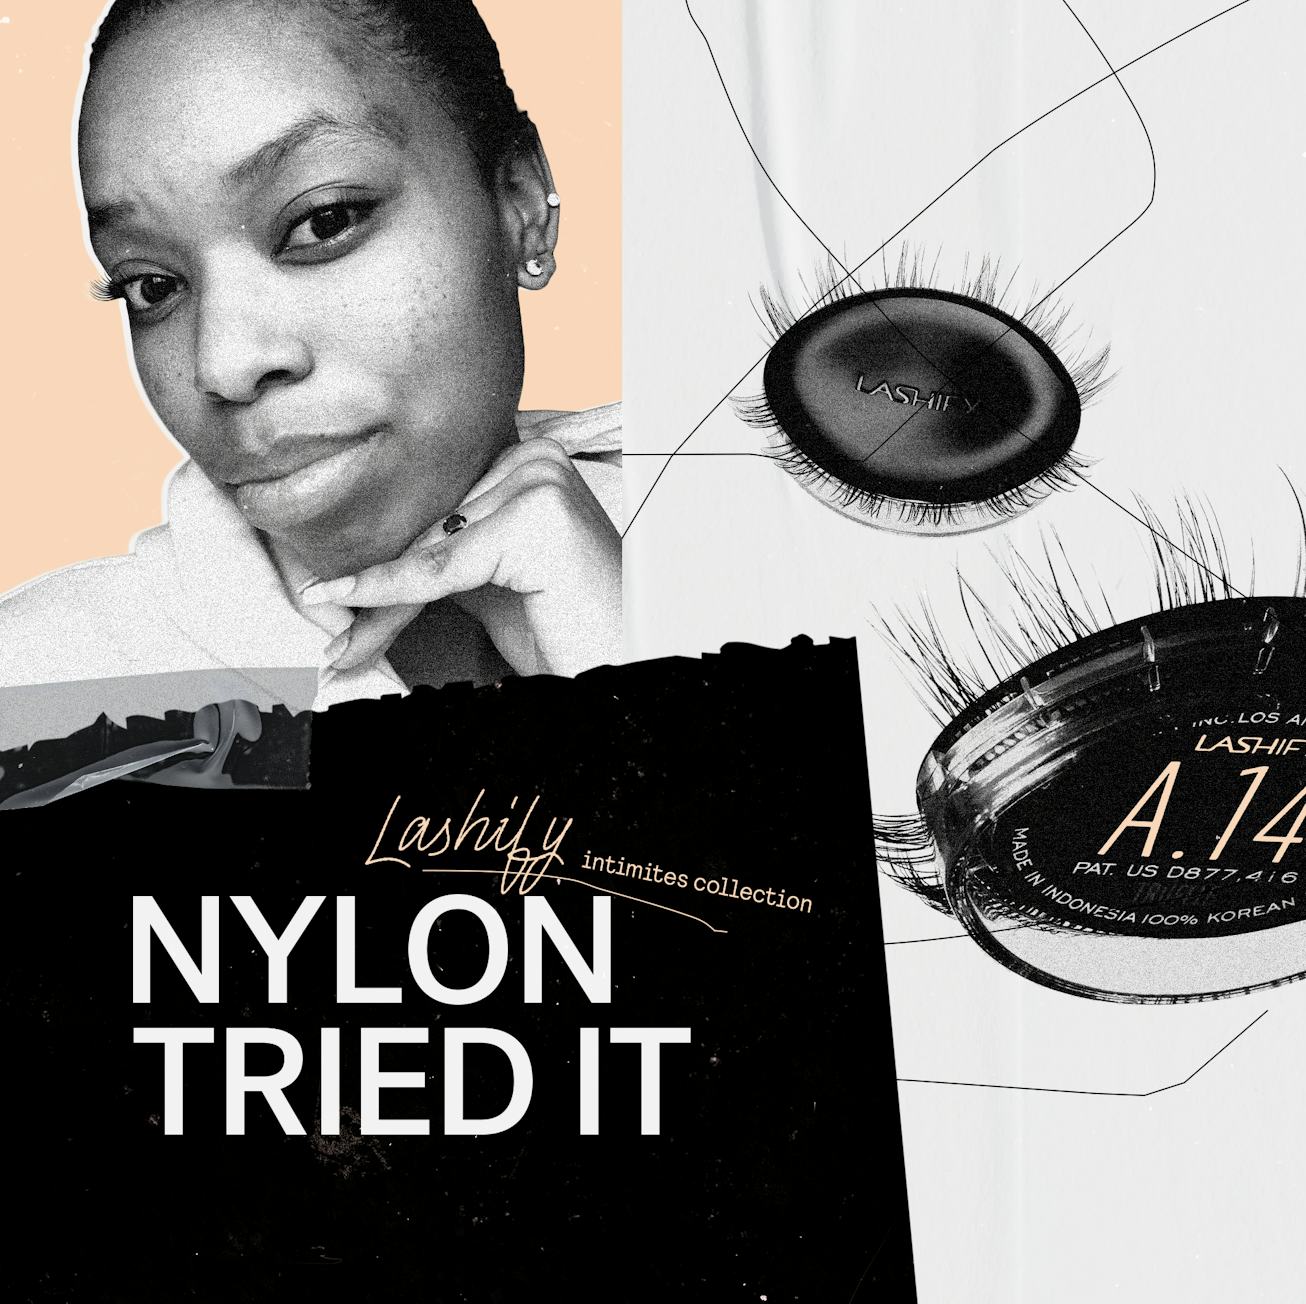
I Tried Lashify’s New Lash Collection Designed To Blend Into Natural Lashes
An honest review of the luxe lashes.
I’ll be the first to admit that when it comes to lashes — strip lashes, lash extensions, you name it — I am completely and utterly clueless. That’s not to say I don’t understand who they work but for some reason they've just never worked for me. I’ve definitely had a fair share of opportunities to try them out, my high school dance team days to practicing with YouTube; and yet still, putting on lashes has always felt like a gamble and a bet that I’d lose.
I quickly became tired of being that girl who constantly had to ask her friend if they could put on my eyelash strips before going out and with extensions out of my means—as well as being very apprehensive in general—I deemed that having fuller lashes just wasn’t in the cards for me. But knowing that even the most subtle no-makeup-makeup looks can become even slightly elevated with the help of a light natural lash, I couldn’t give up on the dream just yet.
Knowing that I wanted something more semi-permanent, as well as having the ease of just waking up with full lashes, I knew my time with strip lashes would never be revived. Luckily, around this time I was given the chance to try out Lashify, the DIY lash extension brand, and its new Intimates Collection, a more natural range in color of their signature Gossamer lashes. The collection was designed to seamlessly blend into your natural lashes, using clusters that go underneath your line rather than above, like typical false lashes tend to do.
Complete with brand's user-friendly Control Kit, I put the launch to the test. Follow along, below.
THE PREP

First things first, like anything you do with your eyes or face, I needed to start with a completely clean canvas. Taking a small cotton round and a few drops of Lashify's Pre-Cleanse, I gently ran the cleansing water over my entire eye area to remove anything that would’ve been left over from my morning skincare routine. In order to reassure that the bonding of the Gossamer would stay, all dirt, oil, moisture and impurities had to be removed.
Now, if you don’t have the Pre-Cleanse, lukewarm water will do just fine—but just water! When asked if a Micellar water could do the trick, Quinteros informed me that it would be wise to stay away from it, considering it could contain moisturizing ingredients like glycerin. Although helpful for the skin, it could prevent the lashes from fusing together.
THE SET UP

Now, this is where it gets different. As stated above, putting on lashes simply didn’t work for me and with the many different techniques I’ve tried, I came to the conclusion that the real problem lied in the glue application. As easy and effortless as it looks to apply glue to a lash spine on YouTube, it was nothing but a messy trial and repeated error for me. With Lashify however, the brands Whisper Light Flexible Bond felt like a match made in heaven. Unlike regular strip lashes where you apply the glue to the thin spine, Lashify’s bonding method is in the form of a spoolie.
Almost like applying mascara, the Whisper Light Flexible Bond comes in a 2-in-1 formula with black and clear. Starting with the black side of the bond I took the very light and thin spoolie and brushed it upwards against my upper lashes. Since the lashes are meant to attach underneath the lash line instead of above I found this process to be super easy. Like any other lash application, I was advised to not use too much of the bond otherwise the lashes wouldn’t stay or dry properly.
THE APPLICATION

After I applied the Whisper Light Bond, I gently removed each Gossamer lash extension from it’s cartridge and with Lashify’s Fuse Control Wand—which resembles most eyelash extension tools but with a specific curved edge for lash placement—I placed one eyelash cluster at a time. Cautious to not place it right on my waterline, I wanted to be very strategic about where each lash was placed. Having slightly almond shaped eyes, I wanted my lashes to be more fuller on my outer corners without looking too overdone.
After I placed each lash in it’s desired place it was finally time to fuse. The fusing process is really what keeps the Gossamer lashes in place and attached to your natural lashes—and keep them there for three to five days. Taking the Fuse Control Wand and placing the tool's wandoms—a clear protective rubber layer for the tool—I gently pressed down on to my lashes. Working from the outer corner of my eyes and slowly moving into the bridge of my nose, both my natural and Gossamer lashes quickly became fused together.
THE FINISHING TOUCH

After my lashes were completely fused together, the last and final step was applying the Glass serum to help lock my lashes in place. The waterproof serum also comes in the use of a spoolie brush that has a soft round ball at the top of it to help seal each lash individually as well as a whole. The serum helps extend the life of the Gossamer lash as it is attached to the natural lash giving it the longevity to truly last up to five days—and sometimes even more.
In total, I would say my first time took no more than 25 minutes in application from start to finish, and given my repeated trial and error I would say that was pretty good timing. Eventually, I've become quite a bit of a pro of applying the lashes, if I do say so myself by applying s full set within under 15 minutes. And although the lashes aren't technically reusable after a wear, if you keep them in pretty good condition I've made one set last up to three to four wears saving me a ton of money on strip lashes that end up in the garbage or falling off after a night out.
If you're interested in trying out Lashify for yourself, you can purchase the Control Kit for $145 and the Intimates Gossamer Lashes for $20 both on Lashify.com
This article was originally published on
